|
|
The Input Action has two sub menu options, Source and Mixer. Use Source to associate speakers, in acoustic space locations, with sources. Use Input to manage speaker inputs and set failover priority.

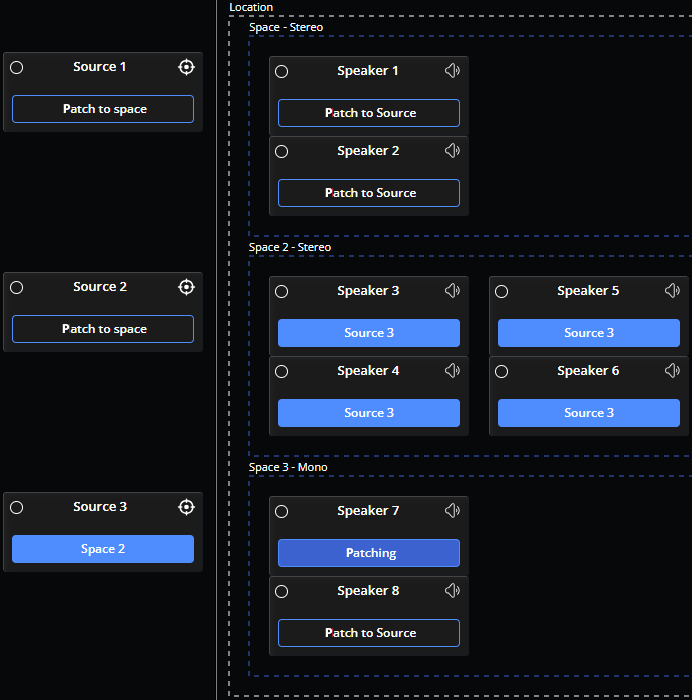
While the Source tab is selected, all virtual devices in a system are visible via a split screen that includes amplifiers and sources on one side and speakers and groups, organized into workspace locations, on the other.
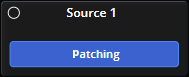
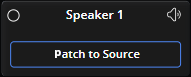
Select the Patch to Source button on a speaker, the button will turn blue and read Patching. While the speaker reads Patching, select the Patch to Space button on a source to associate that source and acoustic space. (Selecting Patch to Space on a source instead to begin this process is also an option.)
Once selected, each speaker in an acoustic space will be associated with a source. The associated source will display the name of the associated acoustic location and each speaker in that location will display the name of the associated source.
While patching sources to spaces keep in mind:
Note: Selecting a source highlights speakers patched to that source, allowing for easy verification and cross-referencing.
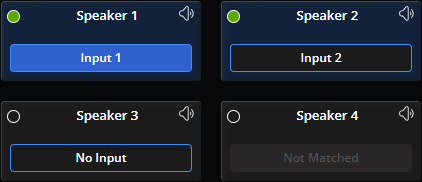
Click on the input button of a speaker to access the Input Selection Panel. Speakers matched with the same amplifier will all have a dark blue color.
Use the Input Selection Panel to view and manage speaker inputs and set failover priority. See the Input management and failover section of the Getting Started with VenueTune article on Cornerstone for additional information.
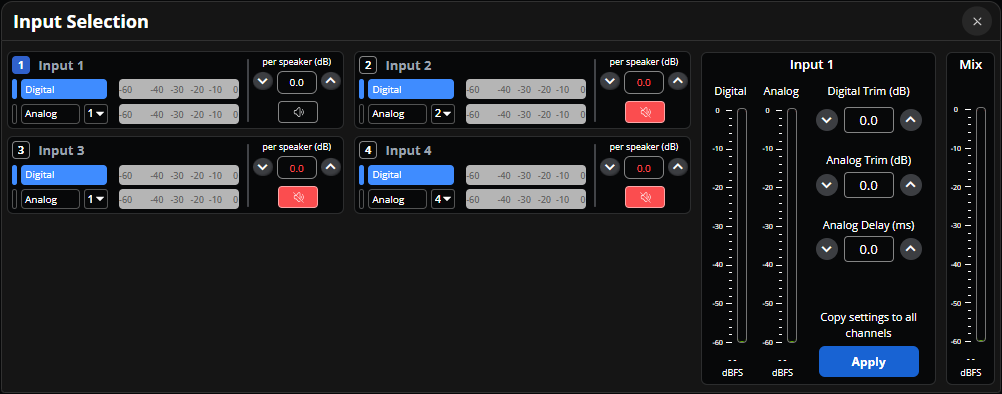
Input selection options: For details about the options for each input section see Input Priority Routing below.
Selected Input: The input number, in the upper left of each input section, will display dark blue while selected. While selected, each of the following attributes are displayed for the selected input.
Digital / Analog dBFS meters: The range of each meter is -60 to 0 decibels relative to full scale.
Digital, Trim: Digital trim editable field has a range of -100 to 12 decibels.
Analog, Trim and Delay: Analog trim editable field has a range of -100 to 12 decibels. Analog Delay editable field has a range of 0 to 5 milliseconds.
Copy settings: Apply will copy the setting of the current input to all other input channels on the same amplifier.
Mix dBFS meter: The range of the meter is -60 to 0 decibels relative to full scale.
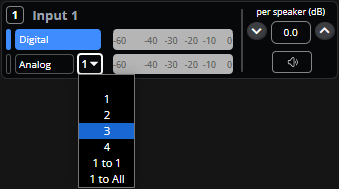
By default each channel will be set to digital as 1:1 priority routing. Digital routing is performed internally through the system. Analog routing is performed through the analog inputs on the back panel of the device. Configure the routing as desired for each channel using the Digital / Analog toggle and analog routing drop down. Each Input is divided into a section for settings that are applied to all speakers on the same amplifier and settings that are applied to the selected speaker individually.
Input number: The input number will display blue while it is the selected input.
Dante channel name: Double clicking on the name of an input will access the text field to update the name of the selected input. Updates to this field will be visible in the Audinate Dante Controller and changes made in Dante Controller display here.
Digital / Analog toggle: The selected button will display blue.
Analog failover drop-down: Allows the user to select the priority routing of physical inputs in a failover scenario. Choosing an Analog Input option from the drop-down on a channel will select that input as the failover for the input on the current channel while digital is selected from the toggle.
Digital / Analog meters: The meter to the right of the analog or digital toggle will always display audio exclusively for the current input channel. If a failover has occurred and audio has been routed to the input selected from the drop-down, the meter will not display any audio because it has failed over to the selected source.
Gain field: Use the gain field to view or edit the gain level for the individual speaker. Edit by typing the value directly into the field or using the increase and decrease buttons on either side.
Mute toggle: By default each speaker will have only a single input mute toggled to the unmute position, all other inputs will be muted for that speaker. While a speaker input button is selected, the mute toggle on the panel menu acts as a source selector. Unmute one or more additional inputs to route multiple sources to a single speaker output. Reverse this by toggling the button to the muted position.

Speakers with two inputs routed will have this information displayed on the speaker written as "_sum_#, #_"
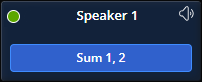
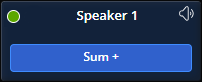
A speaker that has more than two inputs will have the text "_sum_+_" listed in place of the full range of inputs routed to it.