|
|
 Locations
The Locations action is used to create virtual locations and spaces that represent physical areas for two main purposes: aligning and organizing a system in VenueTune with real-world acoustic areas, and patching Dante sources to all speakers within a Location.
Locations have a grey dashed outline while acoustic spaces will have a blue dashed outline. The name of the location or space appears just above the upper left corner of the location outline. While a location or space is selected during the Locations action it, and it's name text, is highlighted with a copper color and the outline is solid instead of dashed. Acoustic spaces are technically locations, but because of functional differences, this help labels them 'Spaces' for clarity.
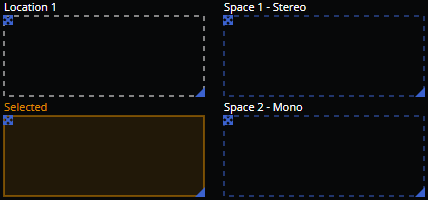
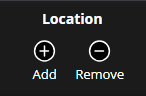
Use the Add button to access the Add Workspace Location Menu. Click on either the arrow (upper left) or triangle (lower right) icons on a location or use the drop-down menu in the upper left of the workspace to select a location. Press the Remove button while a location is selected to delete that location from the workspace. Adding Locations and Spaces is only available during the Locations Action of the Define Phase. See Locations under Workspaces - Menus for additional details about the drop-down menu and editing locations.
Use the Add Workspace Location menu to specify details about a location before adding it to the workspace.

Location Name: Use the Location name Field to apply an identifying label to a Space. (Up to 32 characters)
Parent Building: Drop-down for selecting a parent location for the location being added. The location maximum hierarchy level is three. For example, location 3 can be contained within parent location 2 while location 2 is contained within location 1. However, when adding location 4, it cannot be contained within location 3 because the maximum has been reached.
Acoustic Space: Checkbox that, when checked, will create acoustic space instead of a location. If left unchecked, a location will be created. Information about acoustic spaces is provided below in the Add Spaces section.
A selected location can be moved around the workspace, within a parent location if it is contained within one, by left clicking and dragging the multi arrow icon in the upper left of a location. If the location being moved is a parent to locations or spaces, those locations and spaces will be moved with the location.
A location may be resized by left clicking and dragging the triangle icon in the lower right of a location. The size of a parent location is minimally limited by the room used by any locations and spaces contained within a parent location.
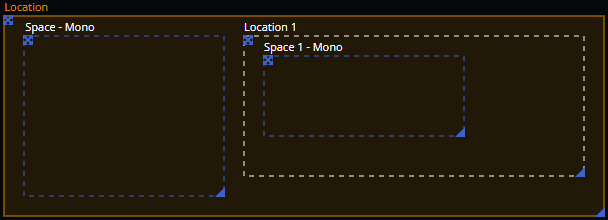
Clicking on either of these icons on a location will automatically select that location. A location may also be selected, edited, or deleted via the Locations drop-down menu in the upper left of the workspace. See the Locations section under Workspaces - Menus for additional details about using the location menu.
Use the acoustic space checkbox to create acoustic space instead of a location.
Use the Add Workspace Location menu to specify details about a space before adding it to the workspace.
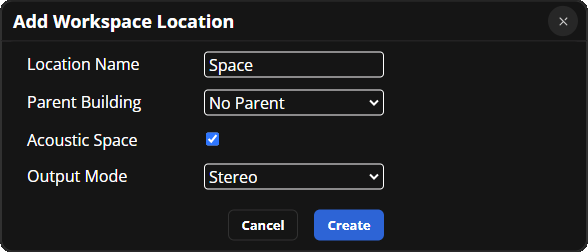
Location Name: Use the Location name Field to apply an identifying label to a Space. (Up to 32 characters)
Parent Building: Drop-down for selecting a parent location for the space being added.
Acoustic Space: Checkbox that, when checked, will designate the location as an acoustic space. If left unchecked, the space will be added as a location. (Once a space or location is created, this selection cannot be changed)
Output Mode: Drop-down for selecting Stereo or Mono output modes. Only available for acoustic spaces.
Like Locations, A selected space can be moved around the workspace, within a parent location if it is contained within one, by left clicking and dragging the multi arrow icon in the upper left of the space. Similarly, a space may also be resized by left clicking and dragging the triangle icon in the lower right of the space.
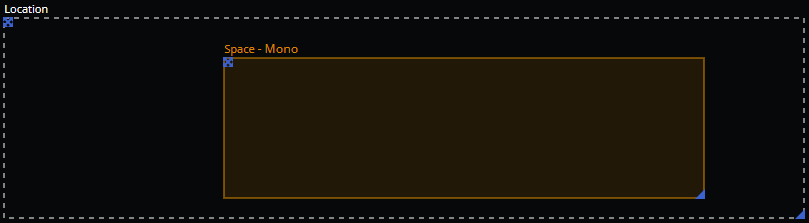
Clicking on either of these icons on a space will automatically select that space. Spaces may also be selected, edited, or deleted via the Locations drop-down menu in the upper left of the workspace. See the Locations section under Workspaces - Menus for additional details about using the location menu.
The size of a space is minimally limited by the room used by any speakers contained within it.
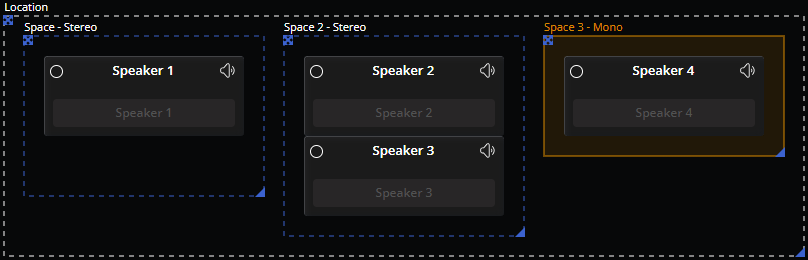
See the Add Speaker Menu section of the Design Phase - Speakers action page for additional information about adding speakers generally or to spaces specifically.
