|
|
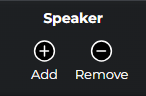
The Speakers action is used to create virtual speakers that represent physical devices for the purpose of designing, tuning, and configuring a system in VenueTune.
Use the Add button to access the Add Speaker Menu. Select a speaker on the workspace and press the Remove button to delete that speaker from the workspace. Adding and removing speakers is only available during the Speakers Action of the Design Phase. Refer to Virtual Representations for details about components of the virtual speaker.
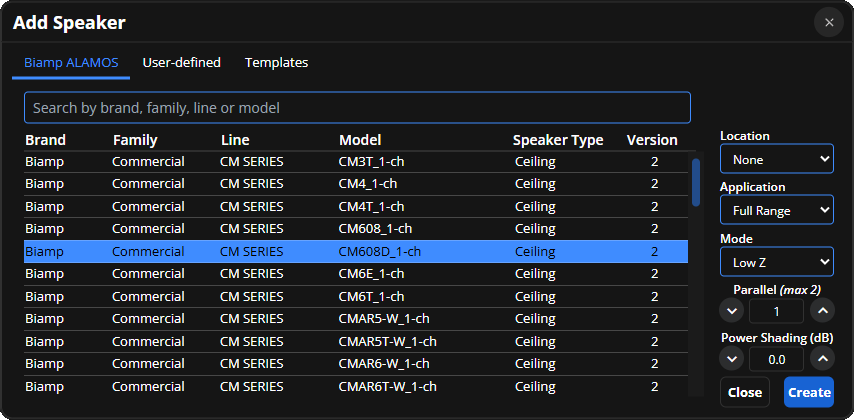
Use the Add Speaker menu to add one or more speakers to the workspace.
Biamp ALAMOS Tab: Add manufacturer developed loudspeaker files. A list of manufacturer developed loudspeaker files is populated from the C:\Users\Public\Public_Documents\Biamp\Loudspeakers folder.
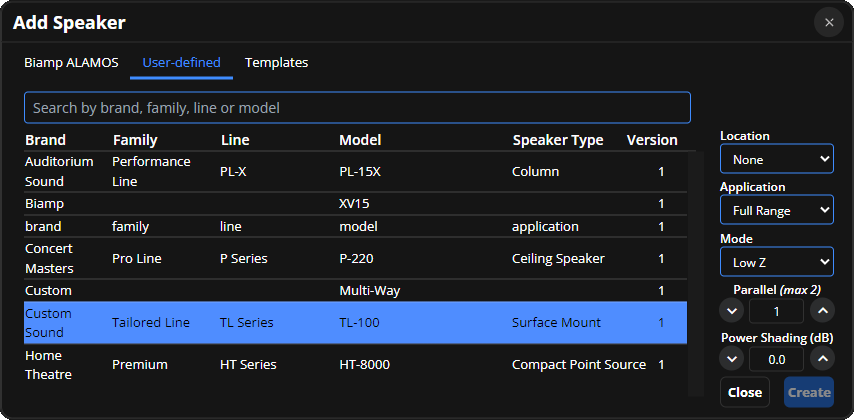
User-defined Tab: Add saved custom loudspeaker files created using the VenueTune custom loudspeaker template menu. Loudspeaker files created using The Voltera Configuration dialog, within Tesira Design Software, are also available. Custom speaker files are populated from storage (OneDrive or similar) using the path This PC/Documents/Biamp/Loudspeakers folder.
Templates: Add one or more virtual speaker devices using the menu to select the template and number of channels. These devices may be edited and customized as described in the Optimize Phase - Speakers section.

Filter text field: Text field filters will exclude any speakers that don't match the written text in the field.
Location drop-down menu: Choose a location to add newly created speakers to. The list of locations will be restricted to acoustic spaces. The letter designation next to each location is the output mode for that acoustic space.
Application drop-down menu: Once a speaker is selected, a selection of application types available to that specific speaker model is selectable from this drop-down.
Mode drop-down menu: Once a speaker is selected, a selection of modes available to that specific speaker model is selectable from this drop-down.
Parallel and Power Shading: Once a speaker is selected, parallel and power shading may be applied. The maximum parallel depends upon the speaker model while the Power Shading range is -20 to 0 dB.
Create and Close: Add one or more speakers with selected settings to the workspace using the Create button. The Add Speaker menu won't close until the close button is selected.
The Design Phase - Speakers action sub menu includes tabs for Workplace, Mode, Parallel, Power Shading, Application, Model, and Edit.

Note: Speaker Action sub menus for other Phases that include these tabs will function the same during those Phases. Tabs unique to those Phases are described in those sections of the help.
While the Location tab is selected, each speaker has a location drop-down available for moving the speaker to a new location. The list of locations will be restricted to acoustic spaces. The letter designation next to each location is the output mode for that acoustic space.

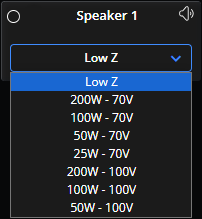
While the Mode tab is selected, each speaker has a mode drop-down available for choosing a power mode. The list of options depends on the model of loudspeaker selected.
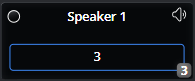
While the Parallel tab is selected, each speaker has a number pad drop-down available for choosing which loudspeakers are dedicated to that channel. The arrow key in the bottom right is the backspace key and will delete the right most number or decimal in the display, the red X key closes the drop-down and will not apply any changes, and the green checkmark key applies any new value to the block and closes the drop-down. The Parallel range depends on the model of loudspeaker selected.
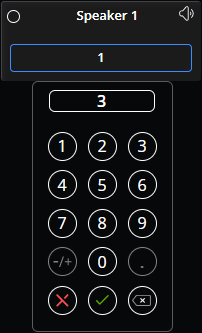
Note: A number indicator representing parallel remains on the lower right corner of the speaker through Phases and Actions.
While the Power Shading tab is selected, each speaker has a number pad and dB slider drop-down available for applying a dB reduction amount to the gain of level (including the limiters). The arrow key in the bottom right is the backspace key and will delete the right most number or decimal in the display, the red X key closes the drop-down and will not apply any changes, and the green checkmark key applies any new value to the speaker and closes the drop-down. The Power Shading range is -20 to 0 dB.

Note: The slider will change the dB value directly and changes will be applied regardless of how the drop down is closed.
While the Application tab is selected, each speaker has a application drop-down available. The speaker model will determine which options are available. An application may only be changed while a speaker is unmatched.

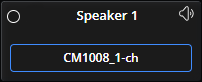
While the Model tab is selected, each speaker displays its unique speaker model identifier.
While the Edit tab is selected, each speaker has advanced control options available by selecting the Edit Profile button to open a panel menu. Manufacturer developed loudspeakers are locked by default and will need to be unlocked to access advanced control options.
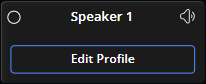
Note: The Edit Profile option offers a granular level of control for advanced and specific requirements. Additional details about using these features are described under the Optimize Phase - Speakers section.